
SPRAY, Scale 1/100
- by Igor BrekhuntsovIgor Brekhuntsov
(This model was built in the spring of 2015, but it is still one of my favourites.)
A little history:
On 24 April 1895, retired captain Joshua Slocum set sail from Boston on the yacht Spray for a circumnavigation of the globe. More than three years later, on 27 June 1898, he returned to Newport, Rhode Island, having sailed around the world and covered more than 46,000 miles (74,000 km) single-handedly. In 1900, Slocum described this voyage in his book Sailing Alone Around the World


So, in the early spring of 2015, I came across a rather interesting-shaped perfume bottle. At that time, I was already deeply immersed in one of my long-term projects (it was a model of the famous three-masted schooner Atlantic), so I wanted to take a break and quickly make something small and relatively simple. The choice for bottling fell on Captain Slocum's yacht Spray, whose book about the world's first solo circumnavigation I had read several times. By the way, this was my first miniature model in a perfume bottle, and it started the tradition of occasionally taking a break from my main projects.
Materials
- hull made of pear wood, planked with pear strips; sails made of percale.
Sea
- made of tinted epoxy resin, clear acrylic gel, and white acrylic paint.
Bottle
- a perfume bottle with a neck diameter of 7 mm.
Process
I printed out a drawing of the yacht at the actual size of the model, which I determined based on the internal volume of the bottle and the diameter of the neck.


I carved the base of the hull, consisting of two parts separated along the waterline, from two pieces of pear strip.


After giving the upper part of the hull its characteristic deck sheer, I laid the deck with pear strips measuring 0.5 x 0.5 mm.


I began planking the hull with strips starting from the transverse "boards" of the stern. Then I planked the sides of the upper part of the hull.

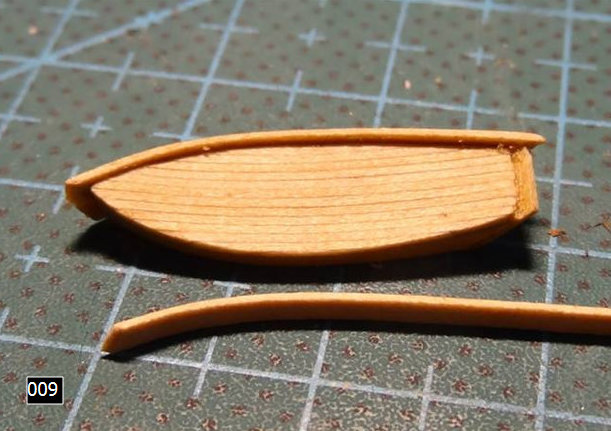

After that, I sanded down the protruding parts of the planking on sandpaper so that the two parts would fit tightly together.


Then I planked the lower (underwater) part of the hull. As a result, I had a hull made of two parts, planked with strips.


Deck superstructures. I also carved their bases from pieces of pear strips.


Then I planked the walls and roofs of the superstructures with strips.


Another advantage of miniature models is the minimal consumption of materials 😊.
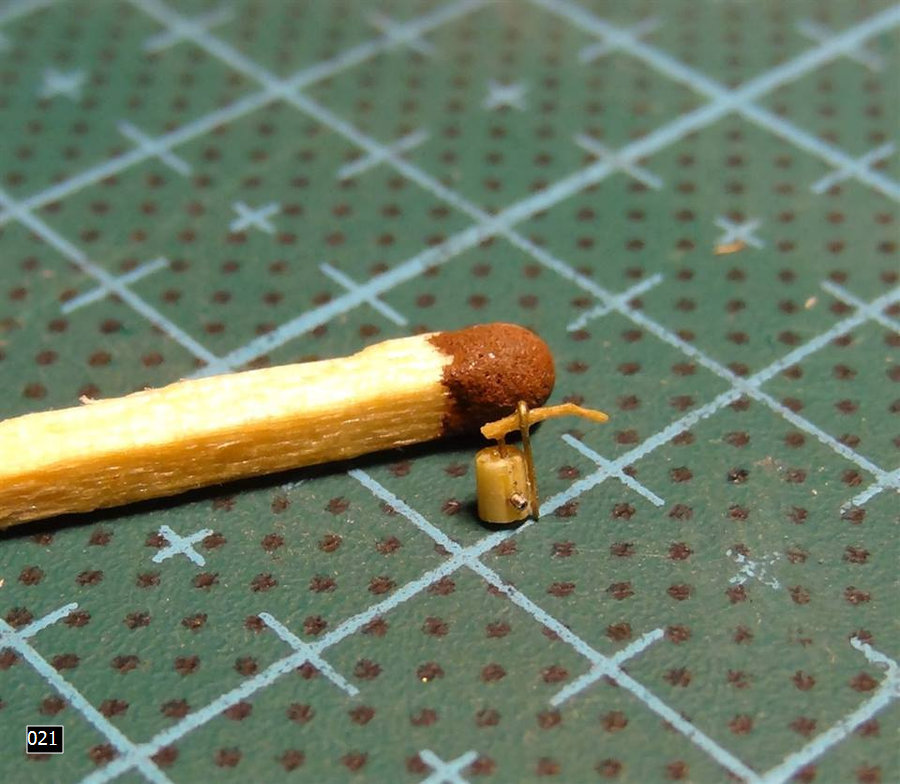
There should be a pump on deck to pump water out of the internal spaces. Mine turned out like this.
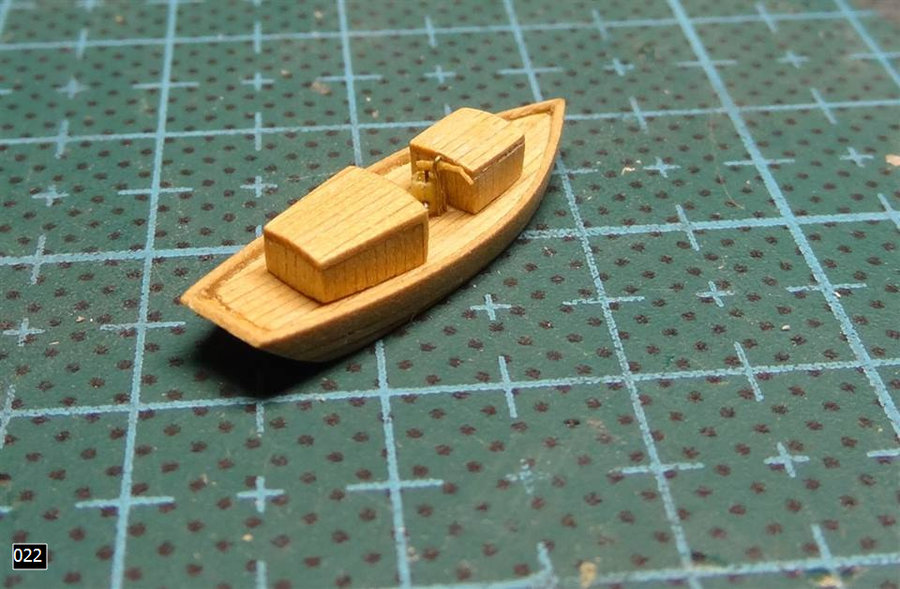
Then I glued on the gunwales.

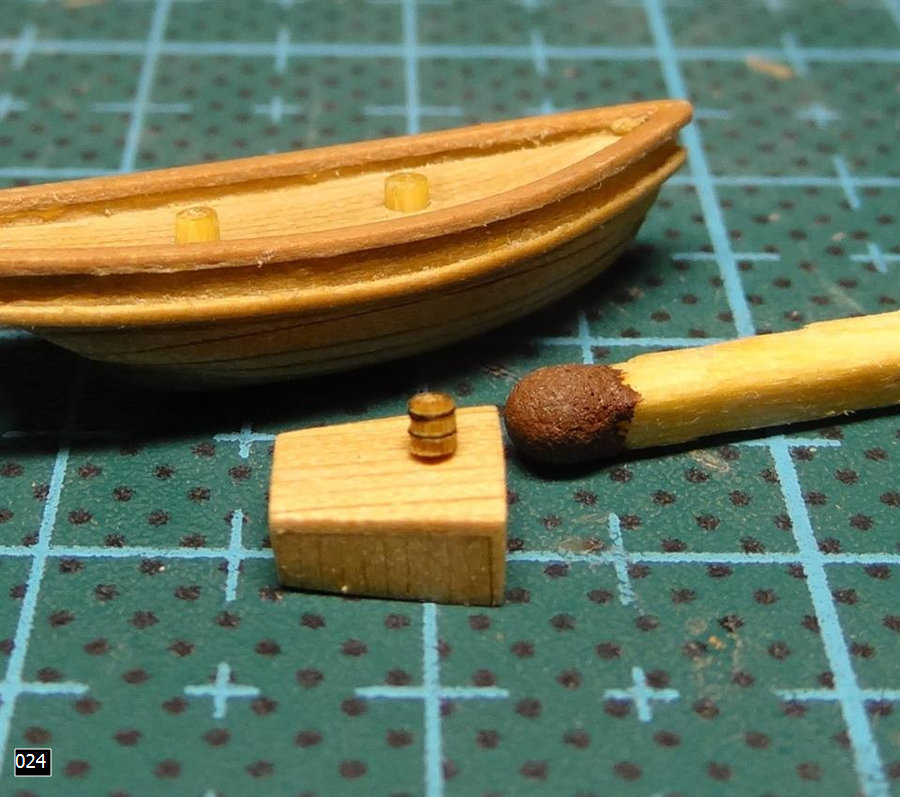
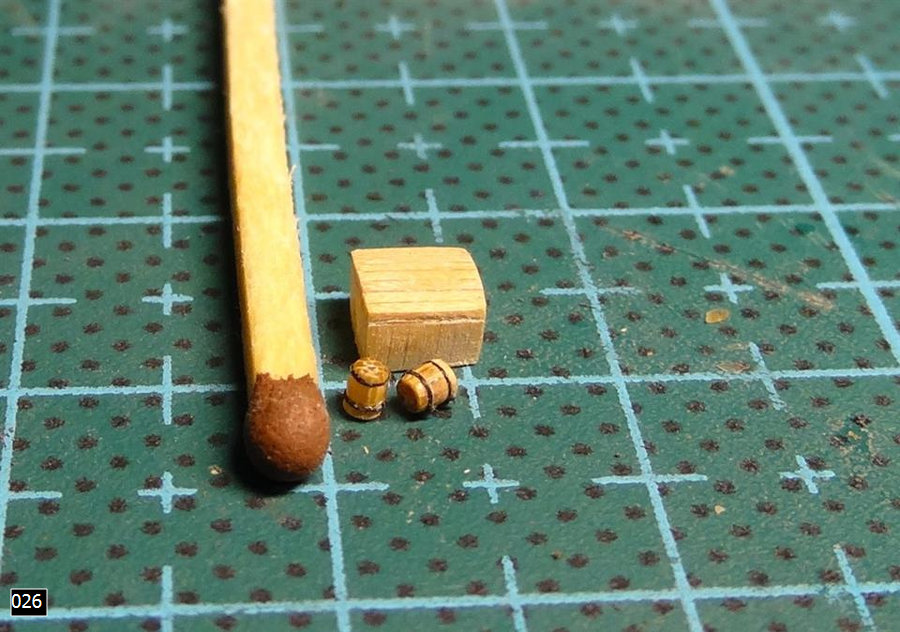
During the work, ideas for various small things occasionally came to mind, like a couple of barrels [photos 024-026] or a ship's boat, the story of which Captain Slocum describes as follows: "To take a boat with me, I managed to cut a castaway dory in two athwartships, boarding up the end where it was cut. This half-dory I could hoist in and out by the nose easily enough, by hooking the throat-halyards into a strop fitted for the purpose. A whole dory would be heavy and awkward to handle alone. Manifestly there was not room on deck for more than the half of a boat, which, after all, was better than no boat at all, and was large enough for one man. I perceived, moreover, that the newly arranged craft would answer for a washing-machine when placed athwartships, and also for a bath-tub."

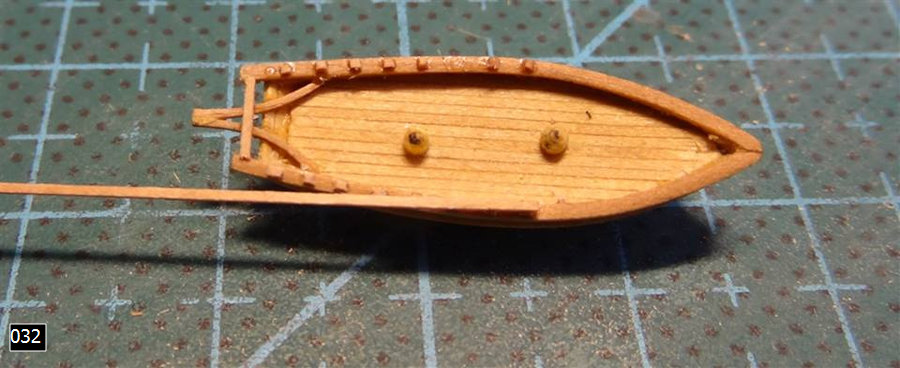
And I also made a half-dory with a re-boarded transom. In photo 031a, next to the matchstick, it's not debris – it's the components of the stern railings 😊.


Then I continued fitting out the yacht.




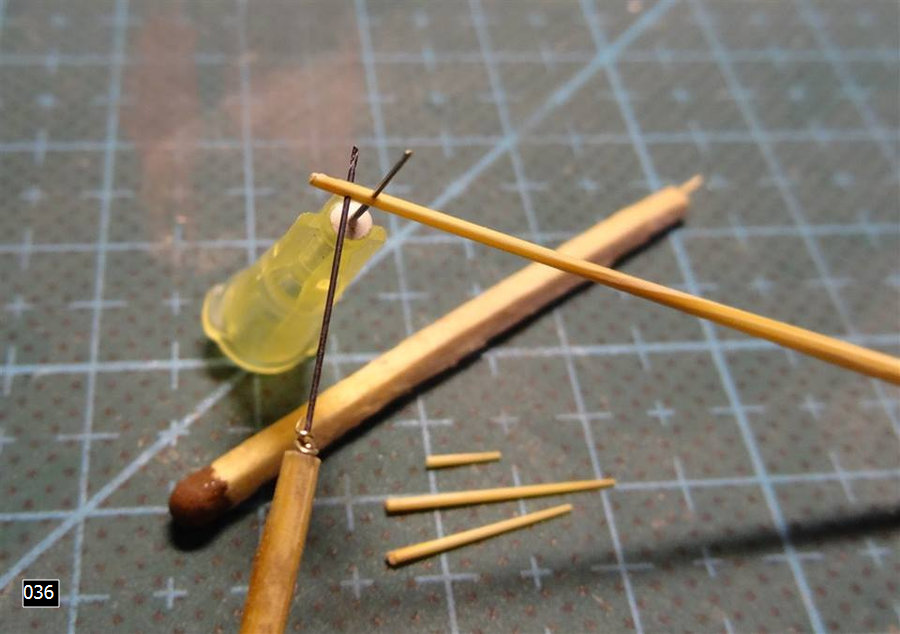
The next stage was making the spars and painting the hull, again in accordance with the captain's own description of this action: "When the calking was finished, two coats of copper paint were slapped on the bottom, two of white lead on the topsides and bulwarks."

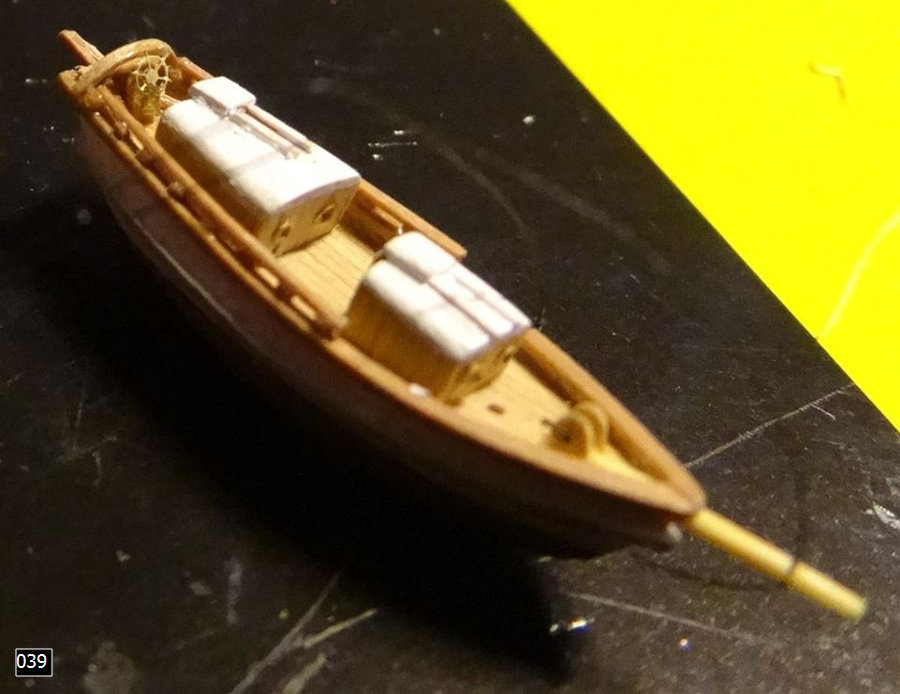
And now, trying on the spars, I could already see something resembling the Spray.

Another interesting point – at that time, I still didn't know exactly how the bottle would be positioned on a stand and, depending on that, how the yacht would be positioned inside it. From time to time, I would place the bottle against the drawing and try to resolve both questions.

And I continued working on the spars, rigging, and sails.


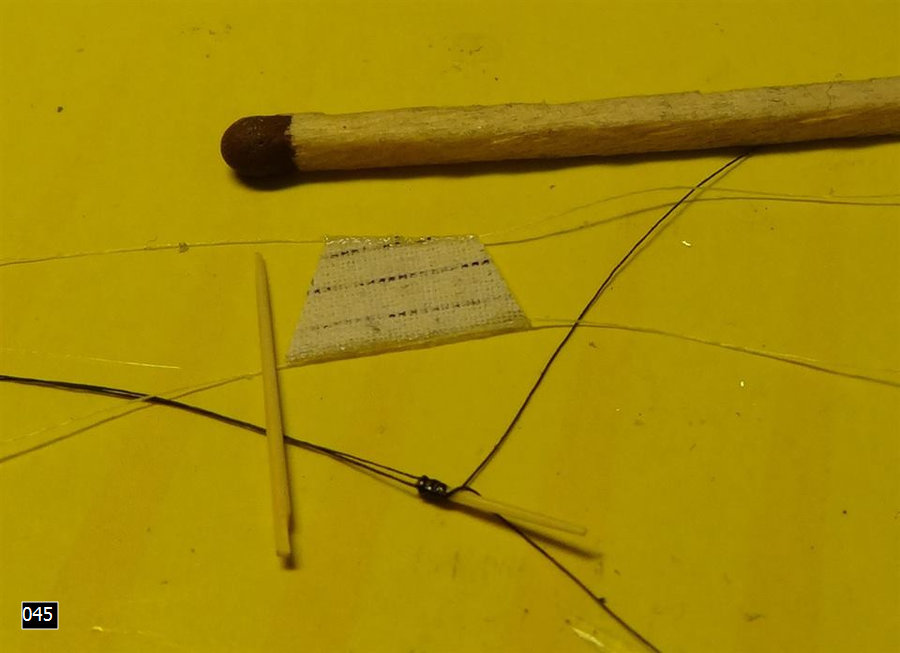
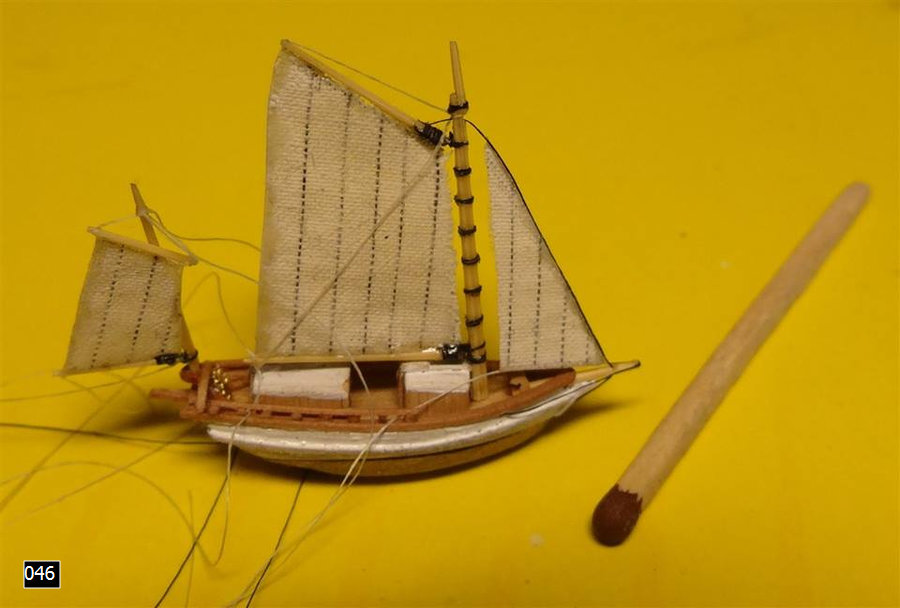
You can also notice a small bottle of rum that I turned for the captain and wanted to place on the roof of the superstructure in front of the wheel. But then I simply forgot to do it 😊.
In this project, I used some new techniques for the first time, for example, making sails from percale with imitation seams between the strips of canvas, gluing on bolt ropes, etc. Some of these experiments were successful and useful in subsequent projects, some I considered unsuitable for myself. For example, I no longer used superglue for gluing bolt ropes...
At some point, I determined the optimal position of the yacht inside the bottle.

Then I finished the rigging, and the model was ready to be moved inside the bottle.


And finally, I came up with and made a stand for the bottle.


Now I could begin the bottling process. To imitate the sea, I used tinted epoxy resin. I poured some of the prepared resin into the bottle and carefully immersed the underwater part of the yacht's hull in it. Then, when the resin was almost set, I poked around the hull a little with a thin stick, and when it had completely hardened, I applied a little white paint with a "dry brush" to imitate "foam."


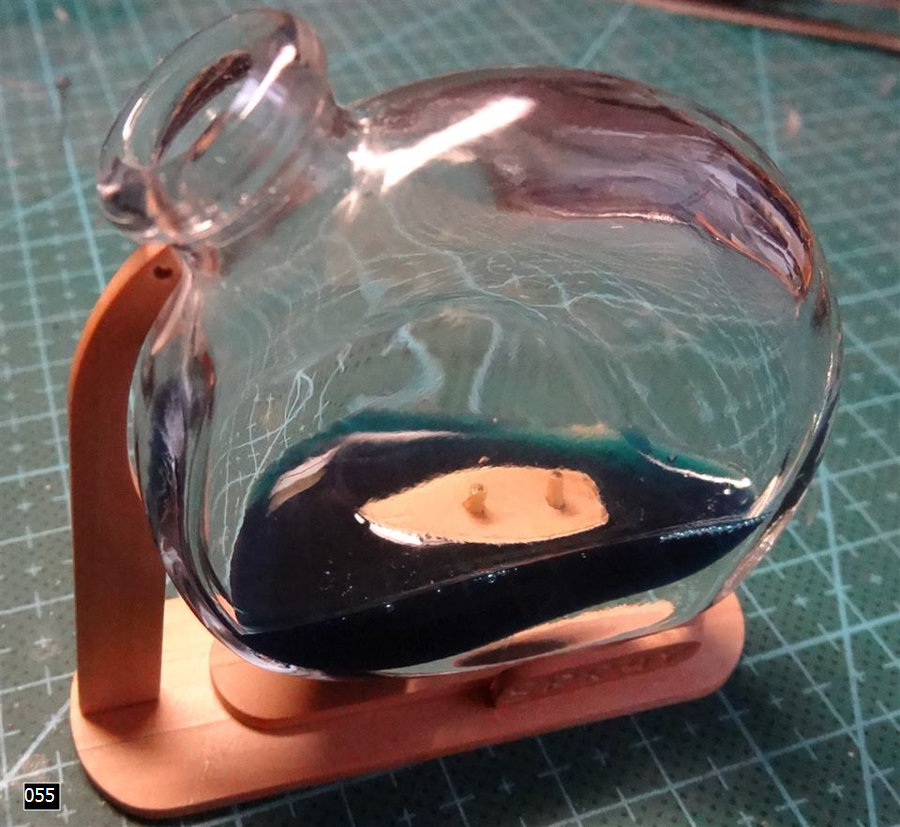


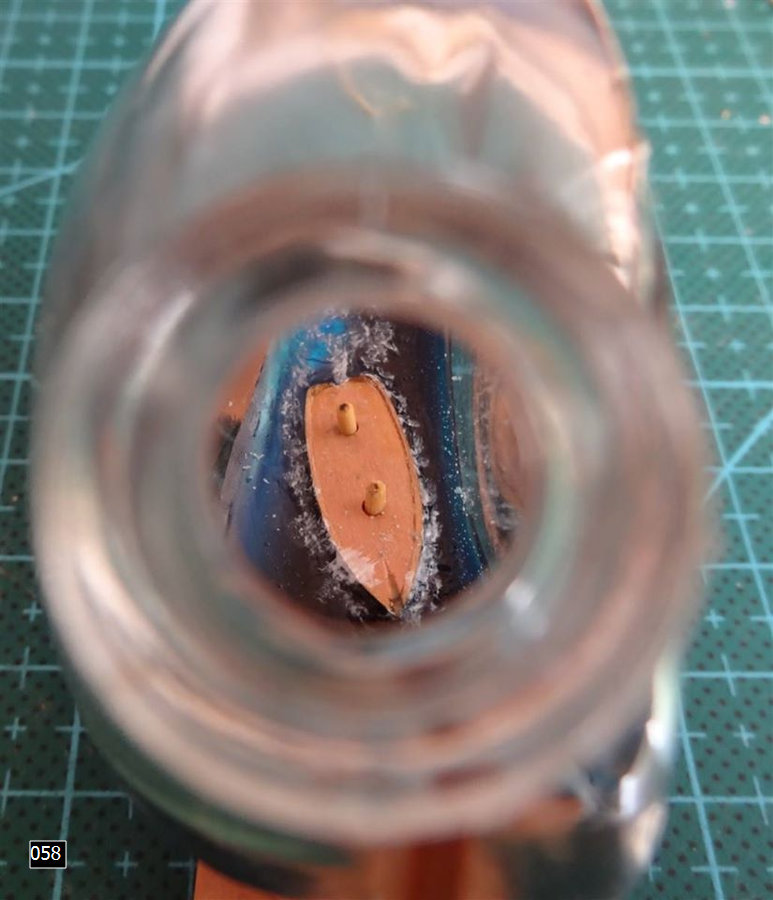
Now I needed to place the model in the bottle, set it in its place, and fix it with glue, and only then start installing the masts and running the rigging.


So, I managed the first part more or less successfully, although the bundle of rigging lines coming out of the bottle's neck did not fill me with optimism...


My forebodings did not deceive me 😊. While installing the mizzen mast, I broke a tiny detail on the stern that was supposed to secure the mast...

After a little thought, I made a replacement and still managed to put the mast in place.


After that, it was easier – I installed the mainmast, untangled the rigging lines, ran them, fixed them in the right places with glue, and trimmed the excess ends.


Now all that remained was to make a wooden stopper with a transverse rod inside the bottle, insert it into the neck, close the bottle with a cap, "decorate it a little with a seal", and take a few photos of the completed project...


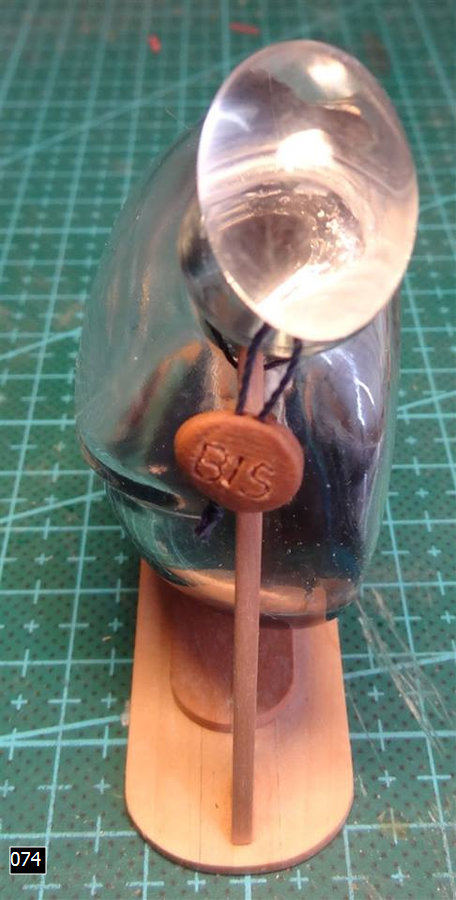


As you remember, I was going to "quickly make something small and relatively simple", but in the end, this project took me more than two months...
P.S. The bottle in photo 002 was the initial option, but then I came across an even more interesting bottle, which I used. And that square-shaped bottle, some time later, became home to Peter the Great's boat "St. Nicholas" in 1/300 scale.
P.S. I still have a special feeling for this model, and from time to time I carefully take it out of the glass cabinet and look at it again, recalling the pleasant moments from more than ten years ago...
P.P.P.S. In writing this article, I was assisted by my digital colleague — as an editor, a translator, and a good conversation partner, in whose company new thoughts and ideas came to life.